Ce tutorial utilise les profils qui ne sont disponibles que pour les versions enregistrées
Marquages des rubriques spécifiques à A et à B
Pour pouvoir différencier les rubriques qui ne seront que dans l'aide A et celles qui ne seront que dans l'aide B nous allons leur attribuer un objet de type AIDE_A=true et AIDE_B=true
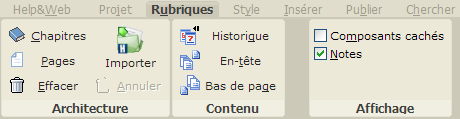
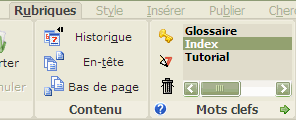
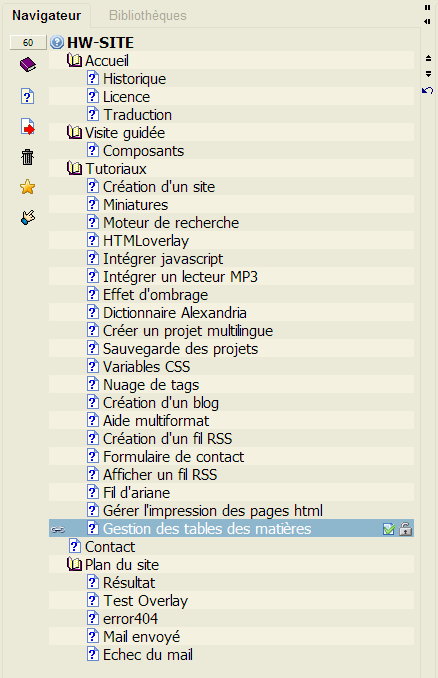
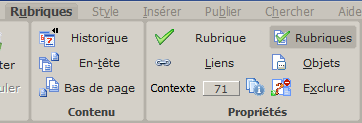
Allez sur l'onglet Rubriques et cliquez sur Rubriques
Cochez toutes les rubriques qui ne seront QUE dans l'aide A puis allez sur l'onglet Objets associés
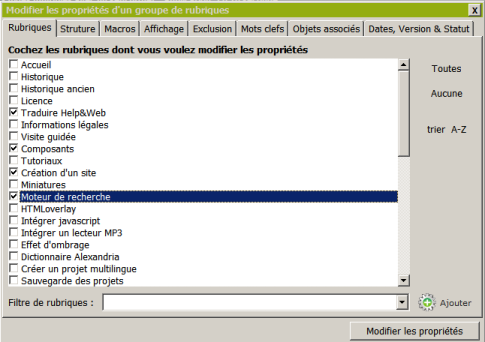
Ajoutez un objet AIDE_A et donnez lui comme valeur true
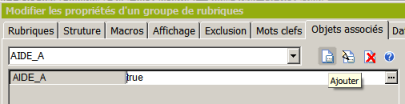
Validez en cliquant sur le bouton Modifier les propriétés et refaites les mêmes étapes pour les rubriques de l'aide B en leur assignant un objet AIDE_B
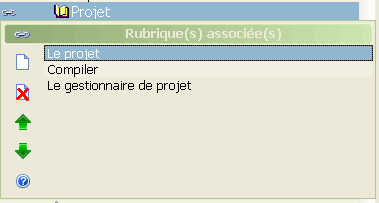
Vous pouvez attribuer un objet à la seule rubrique en cours d'édition en passant par l'onglet Rubriques puis en cliquant sur Objets
À ce stade nous avons 3 types de rubriques, celles qui ne sont que pour l'aide A, celles qui ne sont que pour l'aide B et les autres qui sont communes à A et B.
Filtrage des rubriques
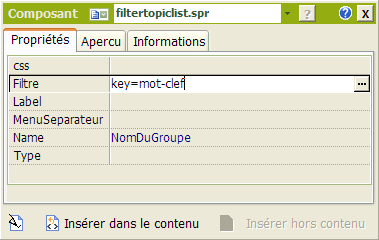
Nous allons maintenant définir les filtres AIDE_A et AIDE_B pour pouvoir exclure des rubriques en fonction de l'aide à publier.
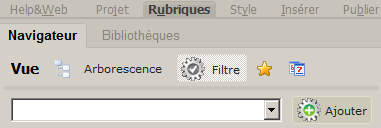
Cliquez sur Filtre puis sur Ajouter
Nommez votre filtre AIDE_A, nous voulons ici exclure les rubriques spécifiques à l'aide B donc les rubriques qui ont un objet AIDE_B=true
Dans la section objet nous rajoutons alors la condition AIDE_B<>true
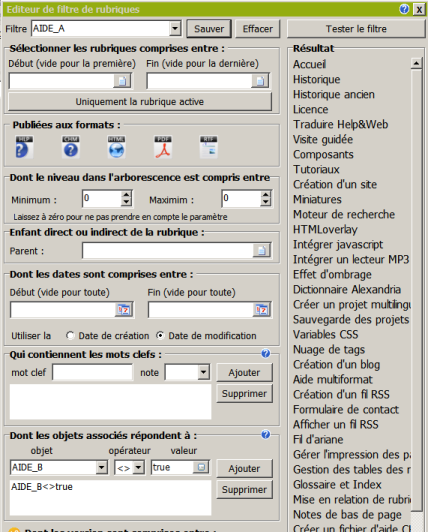
Sauvez et validez par OK, refaites la même chose pour un filtre AIDE_B avec un objet AIDE_A<>true
Définition de portions de rubriques pour A et d'autres pour B
À l'intérieur d'une même rubrique vous pouvez avoir besoin de différencier des sections en fonction de A et de B, pour cela vous avez à votre disposition les directives conditionnelles
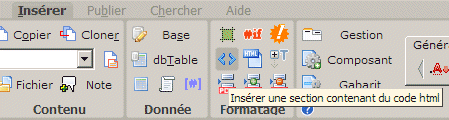
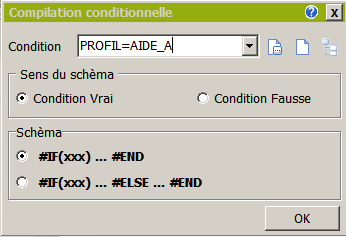
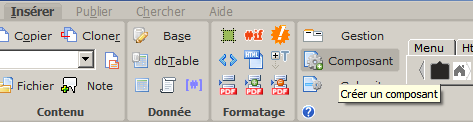
Sélectionnez le passage qui ne sera disponible que dans l'aide A puis allez sur l'onglet Insérer et cliquez sur le bouton #IF dans la section Formatage

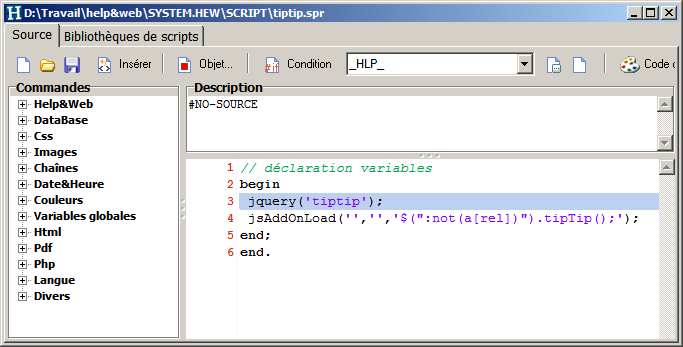
Nous allons utiliser comme condition PROFIL=AIDE_A nous verrons plus loin comment définir et utiliser les profils.
En plus de pouvoir différencier les rubriques de l'aide A de celles de l'aide B, nous savons maintenant comment définir des sections de rubriques en fonction de l'aide à publier.
Feuilles de styles spécifiques à A et à B
Nous allons voir comment redéfinir nos styles CSS en fonction de l'aide à publier.
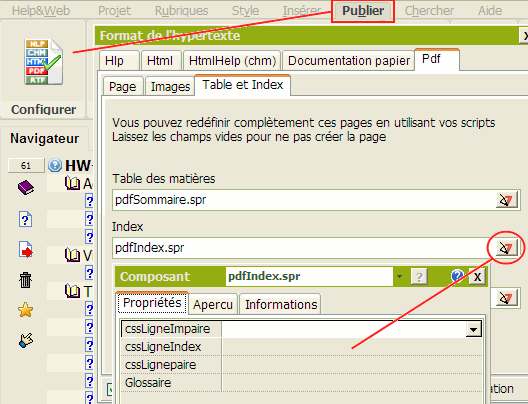
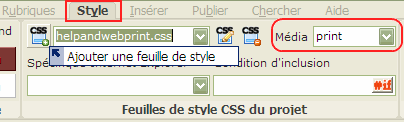
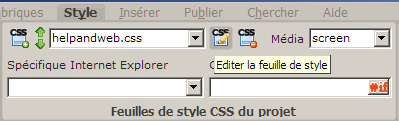
Allez sur l'onglet Style et rajouter une feuille CSS style_A
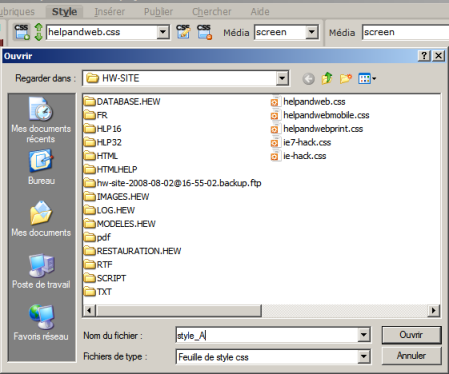
Définissez comme condition d'inclusion PROFIL=AIDE_A
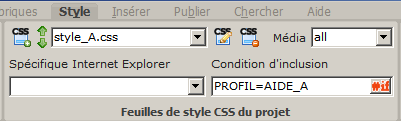
Faites de même pour une feuille style_B et PROFIL=AIDE_B
Nous sommes maintenant en mesure de redéfinir nos styles suivant l'aide publiée.
Création des profils
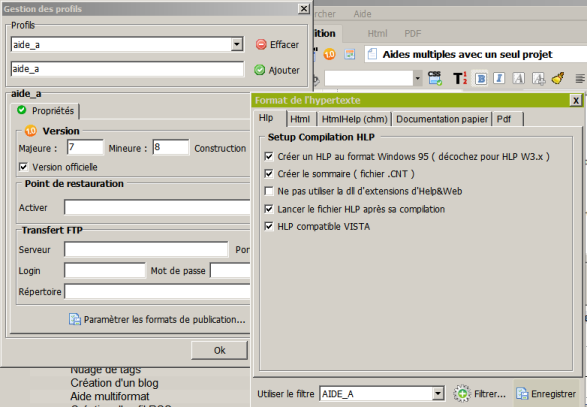
Depuis l'onglet Publier cliquez sur le bouton Gérer profils puis ajoutez un profil aide_a , cliquez sur Paramètrer les formats de publication , sélectionnez le filtre AIDE_A , Enregistrez et validez votre profil
Faites de même pour un profil aide_b en sélectionnant le filtre AIDE_B
Publication des aides A et B
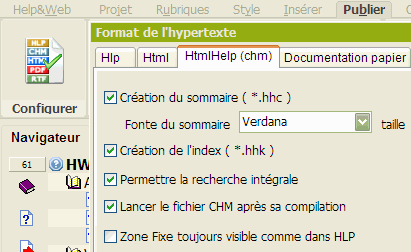
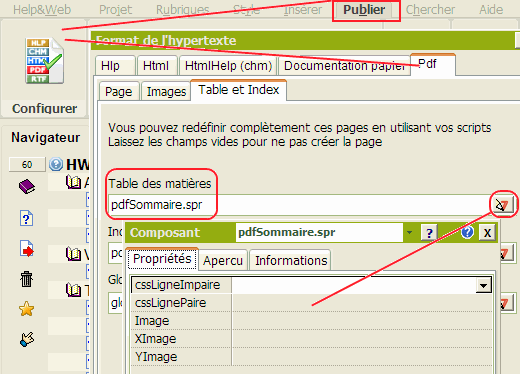
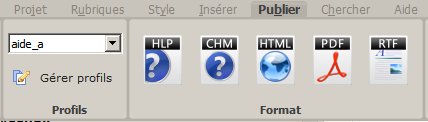
Pour publier l'aide A, allez sur l'onglet Publier, sélectionnez le profil aide_a et choisissez votre format
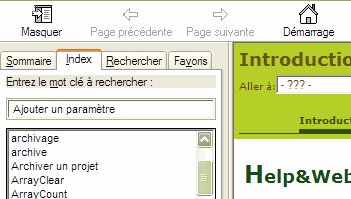
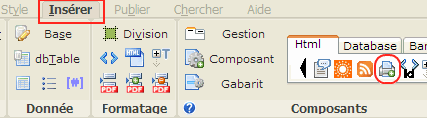
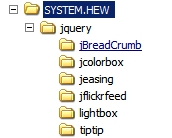
Les aides se retrouvent dans un sous-répertoire au nom du profil employé, pour y accéder cliquez sur le bouton Répertoire.
]]>

 et enregistrez-la sur votre disque dur, ensuite cliquez sur Parcourir... pour l'ajouter dans la zone Images